Installation on Windows
Method 1 : DownLoad LTS version from official website
Here the user can download a desired version and install
Method 2 : Using node version manager(NVM)
- Here the user can install more than one node versions on same system and can switch from one to another.
- The professionals should practice the method two because they should have familiar with different versions, packages and their dependencies
Method 1:
1.Download the Windows installer from the Nodes.js® web site. (https://nodejs.org/en/download/)
2.Choose the LTS version that’s shown on the left.
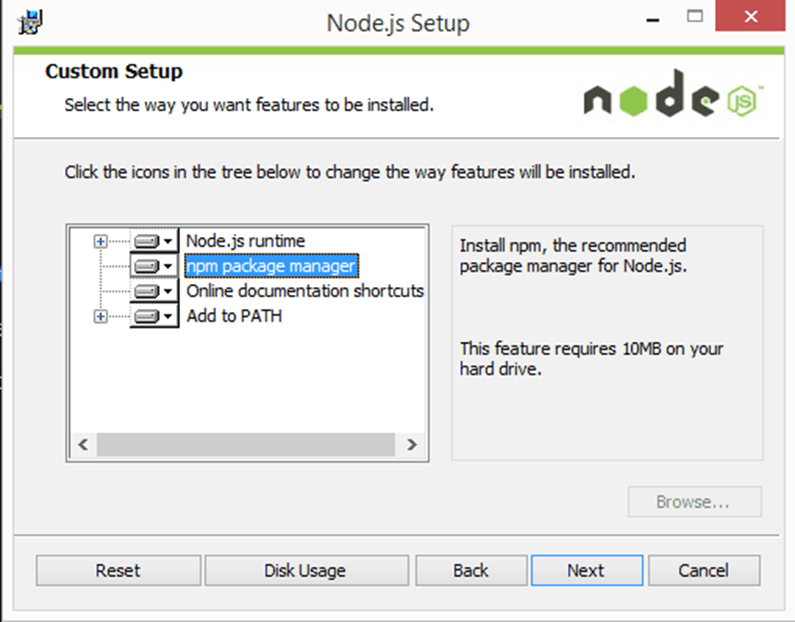
3.Run the installer (the .msi file you downloaded in the previous step.)
4.Follow the prompts in the installer (Accept the license agreement, click the NEXT button a bunch of times and accept the default installation settings).
5. Restart your computer. You won’t be able to run Node.js® until you restart your computer.
6. Confirm that Node has been installed successfully on your computer by opening a Hyper terminal and typing in the commands
node –version
You should see the version of node you just installed
Method 2:
Install node version manager on windows
Reference : https://docs.microsoft.com/en-us/windows/dev-environment/javascript/nodejs-on-windows
Download nvm-setup.zip from the below link
Releases · coreybutler/nvm-windows · GitHub
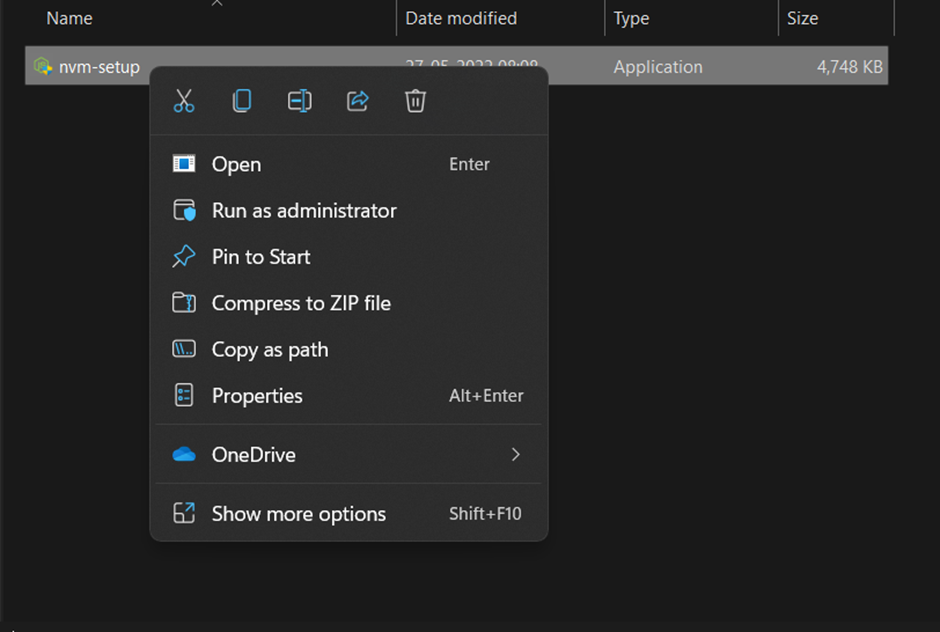
- Unzip the file
- Run as administrator
- open hyper terminal as administrator
- Type nvm install [version] Eg: nvm install 12.20.2
- To switch from one version to another use the command
- nvm use 12.20.2