How to take screen shots on windows 10
In Windows 10, we can have several ways to take screenshots of the entire computer screen ,or even a part of it.
- Press “PrtScn” : The fast and easiest way to take the screenshot of the entire computer screen is ,Press “PrtScn” button on the keyboard. It will copy the screenshot to the clipboard and you can do “Ctrl+V” to paste it even in your whatsapp chat. Also you can paste(“Ctrl+V”) in a Paint Program ,Word Prcessor etc.. which display images.
- Press “Alt+PrtScn” : This is to take the screenshot of the active window to the clipboard. This screenshot can be pasted into another program.
- Press “Windows Key + PrtScn”: This will dim the screen for a while and a screenshot in the form of an image file will be saved in the PC. Can find the screenshots at Pictures->Screenshots folder
- Press “Windows Key+Shift+S”: This is the short cut to open the snipping tool in Windows 10.This will dim the entire screen . The mouse pointer will change ,you can select a specific area on the screen ,which you want to make a screenshot.The selected area will be saved in the clipboard and can be pasted into another program.
How to use snipping tool to take screenshots in windows 10
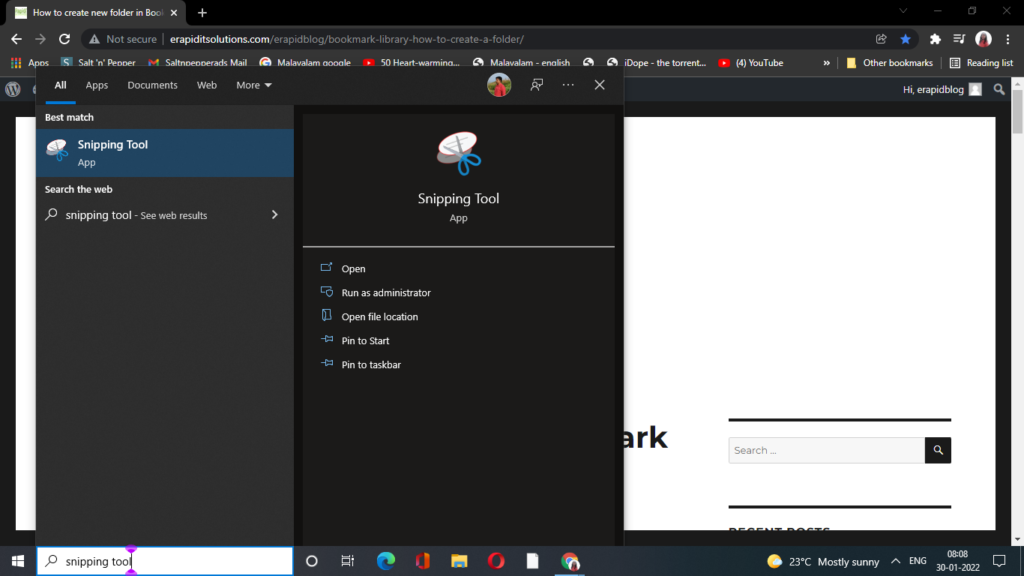
Microsoft includes much more flexible utility feature to take the screenshots.Snipping Tool can be opened from the start menu.
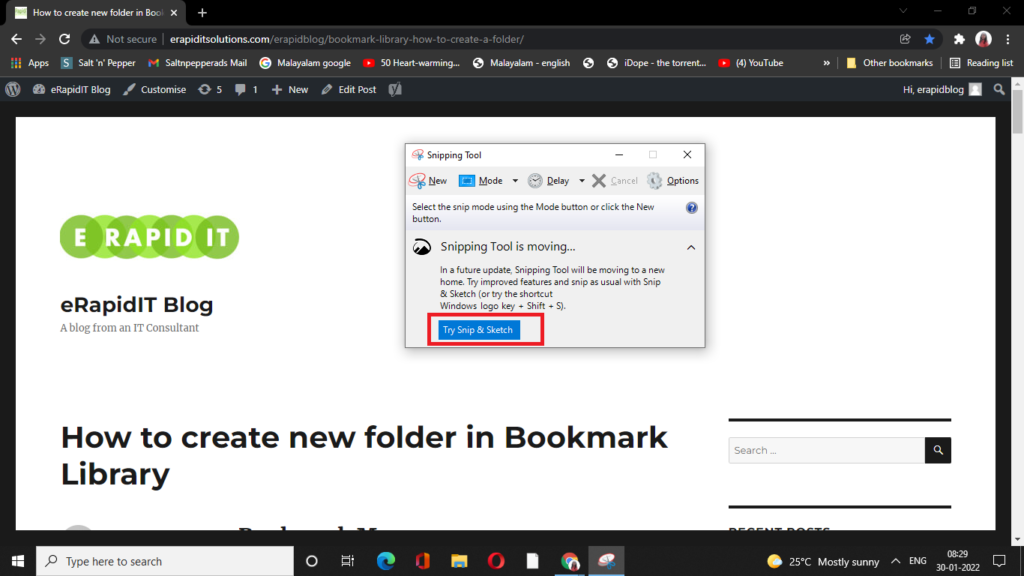
Click on the “Try Snip& Sketch” button. It will redirect to a new page where you can select the section to take screenshot
Snipping can be done in various ways as shown below:
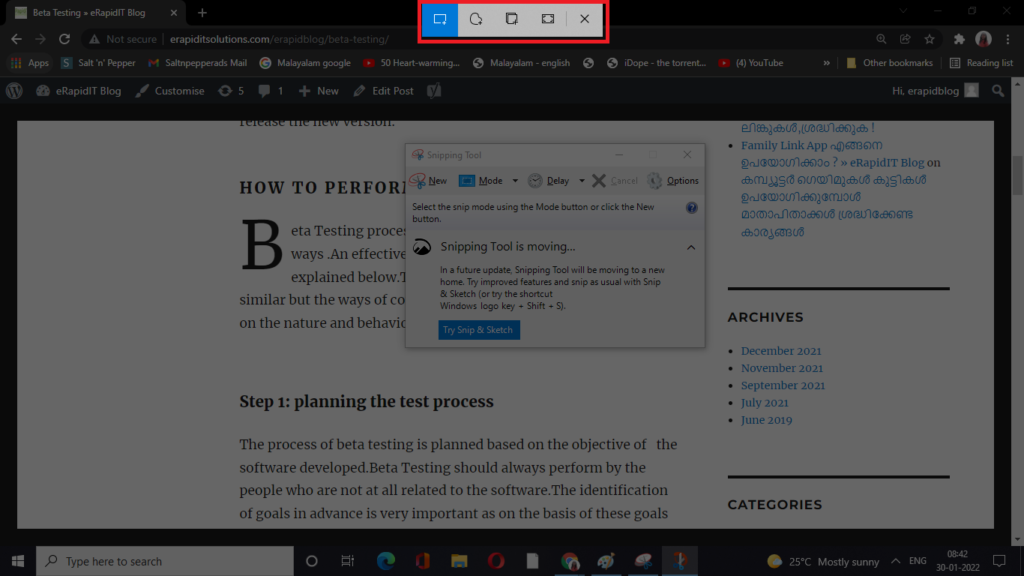
Here we can select any type of snipping tool to select the specific area to take screenshot.
The short cut for opening the Snipping Tool is : Window Key+Shift+S. This will open the snipping tool window and can select the appropriate option over here to take screenshots.